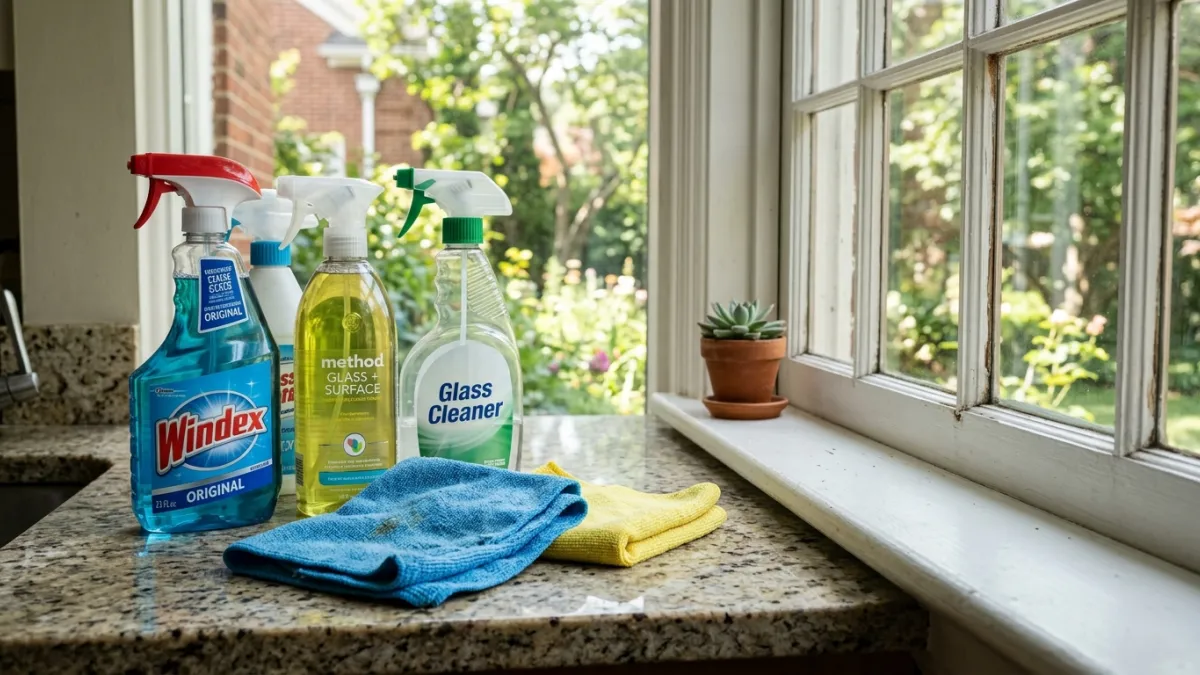
To achieve perfectly streak-free glass, use an ammonia-free glass cleaner paired with a high-density waffle-weave microfiber cloth, wiping in alternating horizontal and vertical passes. Avoid paper towels, which leave lint and static charge behind, and never clean hot glass in direct sunlight, as rapid evaporation bakes chemical residue onto the surface before it can be wiped away.
How Glass Cleaners Work: Surfactants vs. Solvents
Understanding the chemistry behind glass cleaners prevents haze, smears, and damage to surrounding window frames or tinted films. Commercial glass formulas rely on two primary active ingredients:
- Solvents (Alcohols & Glycol Ethers): Solvents like isopropyl alcohol dissolve oily fingerprints, grease, and grime while evaporating rapidly to reduce drying time.
- Surfactants: Surface-active agents break the surface tension of water, allowing the solution to wet the glass evenly and lift stubborn dirt particulates without scratching the surface.
Ammonia-based cleaners were once the industry standard because ammonia aggressively cuts through heavy grease and smoke film. However, modern window tints, car interiors, and wooden frame finishes degrade when exposed to ammonia. For safe, multi-surface window maintenance, professional cleaners overwhelmingly favor ammonia-free, alcohol-based, or plant-derived formulations.
Commercial Cleaners vs. DIY Vinegar Solutions
Choosing between store-bought sprays and homemade mix-it-yourself options comes down to convenience, cost, and soil type.
| Cleaner Type | Best Used For | Pros | Cons |
|---|---|---|---|
| Foaming Aerosol Sprays | Vertical windows, mirrors, auto glass | Clings without dripping, rapid drying, zero lint drag | Aerosol can waste, higher cost per fluid ounce |
| Liquid Spray Bottles | Everyday household glass, tabletops | Widely available, refillable bottles, easy spot cleaning | Can run quickly down vertical surfaces if over-applied |
| DIY Vinegar Formula | Hard water spots, eco-friendly homes | Non-toxic, highly affordable, cuts alkaline minerals | Strong odor, slower evaporation rate, unsafe on natural stone frames |
How to Make an Effective DIY Glass Cleaner
For a non-toxic homemade formula that rivals commercial brands, mix the following ratio in a clean spray bottle:
- 1 cup distilled water (tap water contains minerals that create spots)
- 1 cup isopropyl alcohol (70% concentration for fast evaporation)
- 1 tablespoon white distilled vinegar (acidic boost to break down grime)
Essential Tools for Cleaning Glass
Even the highest-rated cleaner will leave smears if paired with the wrong applicator or drying tool. Ditch traditional paper towels and old cotton T-shirts in favor of professional equipment:
- Waffle-Weave Microfiber Cloths: Unlike plush microfiber towels that trap lint, waffle-weave cloths feature pockets that scrape away dirt while polishing glass to a high shine.
- Professional Window Squeegee: For large outdoor panes and patio doors, a quality brass or stainless-steel squeegee with a fresh rubber blade moves dirty water in seconds.
- Scrub Pads (Non-Abrasive): Use white nylon scrub pads or dedicated glass sponge pads to loosen tree sap, insect droppings, or paint flecks without scratching the silica surface.
Step-by-Step Guide to Streak-Free Glass
Follow this standard operating procedure to clean interior and exterior glass panels with speed and consistency.
Step 1: Dry Dust the Frame and Glass
Before applying liquid, brush away loose dust, cobwebs, and dirt from window sills, tracks, and frames using a vacuum dusting brush or dry microfiber duster. Spraying liquid directly onto dusty glass creates dirty mud that spreads across the pane.
Step 2: Apply Cleaner Moderately
Lightly mist the glass cleaner over the surface. A common mistake is over-saturating the glass; excessive liquid saturates your cloth instantly, leading to streaking as dirty solution transfers back onto the window.
Step 3: Wipe with the "Z-Pattern" Technique
Fold your microfiber cloth into quarters to create eight clean working surfaces. Start at the top corner of the window and wipe horizontally across, then drop down and wipe back in a continuous S-shaped or Z-shaped pattern until reaching the bottom edge.
Step 4: Buff Out Remaining Moisture
Flip the microfiber cloth to a dry quarter (or use a secondary dry polishing cloth) and lightly buff the surface in circular motions to dry any remaining liquid before it air-dries into visible water spots.
Safety & Surface Care Warnings
- Avoid Tinted Auto Windows: Never use cleaners containing ammonia on tinted automotive glass; ammonia dissolves the top adhesive film and causes bubbling or purple discoloration over time.
- Protect Marble and Granite Sills: Vinegar-based DIY cleaners contain acetic acid, which permanently etches natural stone surfaces like marble, travertine, and granite if spilled on window ledges.
- Sunlight Timing: Do not clean glass surfaces exposed to direct sunlight or hot weather exceeding 80°F (27°C). Warm glass causes liquid cleaners to flash-evaporate before wiping is complete, leaving streaks of solid residue behind.
Frequently Asked Questions
Why does my glass look cloudy after cleaning?
Cloudiness occurs when cleaning chemical residues, tap water minerals, or dissolved grease are allowed to air-dry on the surface instead of being completely removed with a clean, dry polishing cloth. Switching to distilled water in DIY formulas and using fresh microfiber cloths resolves clouding issues.
Are newspaper sheets still good for drying windows?
While newspapers were historically popular for streak-free drying, modern soy-based printing inks can smear black residue onto window frames and hands. Flat-weave or waffle-weave microfiber glass cloths provide superior absorption without ink smudges or paper lint.
How do I remove hard water spots from glass shower doors?
Hard water spots consist of calcium and magnesium mineral deposits. Use a dedicated acid-based cleaner or a 50/50 solution of warm white vinegar and dish soap. Allow the mixture to dwell on the glass for 10–15 minutes to break down the minerals before scrubbing lightly with a non-scratch pad and rinsing thoroughly.