Quick answer: To properly clean an airbrush after using acrylic paint, flush the fluid cup with a dedicated acrylic cleaner (pH 8.5–9.5) immediately after spraying. For deep cleaning or dried paint, disassemble the fluid nozzle and needle, soak the non-rubber components in cleaner for 15–20 minutes, and gently scrub with specialized micro-applicators or cleaning brushes.
Understanding Airbrush Chemistry: How Cleaners Work
Acrylic paints consist of pigment particles suspended in an acrylic polymer emulsion, backed by water and solvents. As the water evaporates, the polymer chains cross-link, forming a durable, water-insoluble plastic film. Standard tap water works well enough while the paint is actively wet, but once polymerization begins inside the brush assembly, water alone loses its effectiveness entirely.
Dedicated airbrush acrylic cleaners rely on specific solvent blends, mild surfactants, and chelating agents designed to break those cross-linked polymer bonds without destroying the internal seals. Commercial formulations typically maintain a slightly alkaline pH between 8.5 and 9.5. This controlled alkalinity softens hardened acrylic resins rapidly while remaining safe for stainless steel needles, chrome-plated brass bodies, and delicate PTFE (Teflon) packing seals.
In contrast, using unapproved solvents like industrial lacquer thinners or heavy acetone can melt traditional rubber O-rings (typically nitrile or neoprene) found in budget airbrushes. Understanding what goes into your airbrush cleaner helps you pick the safest, most efficient product for your specific gear setup, ensuring longevity and consistent atomization performance.
Choosing the Best Cleaner vs. DIY Household Alternatives
Choosing between commercial cleaners like Medea Airbrush Cleaner, Vallejo Airbrush Cleaner, or Iwata Medea Studio Cleaner comes down to convenience, speed, and safety. Commercial mixes contain precise ratios of isopropyl alcohol, glycol ethers, and lubricants that protect internal components while dissolving dried acrylics. They eliminate guesswork and keep your spray equipment operating within factory tolerances.
However, many studio workers and specialized commercial cleaner operators rely on homemade solutions for high-volume work. A common, highly effective DIY recipe consists of 60% distilled water, 30% isopropyl alcohol (99% purity), and 10% household glass cleaner containing ammonium hydroxide or a mild surfactant like liquid dish soap. While alcohol breaks down the binder, dish soap lowers surface tension to float pigment out of hidden channels.
Cleaner's tip: Never leave airbrush nozzles or O-rings soaking in ammonia-based solutions or pure alcohol overnight. Over time, ammonia attacks chrome plating and brass threads, turning them brittle, while concentrated alcohol strips the essential internal lubricants from the trigger assembly, causing sticky action after a few months of use.
| Cleaner Type | pH Level | Acrylic Dissolution Speed | O-Ring Safety (PTFE vs Rubber) | Average Cost per 16oz |
|---|---|---|---|---|
| Commercial Cleaner (e.g., Iwata/Medea) | 8.5 – 9.0 | Fast (30–60 seconds) | Safe for both PTFE & Rubber | $16 – $22 |
| 99% Isopropyl Alcohol (IPA) | 7.0 (Neutral) | Moderate (1–3 minutes) | Safe for PTFE / Dries out Rubber | $4 – $7 |
| DIY Mix (Distilled Water + IPA + Soap) | 8.0 – 8.5 | Moderate (2–4 minutes) | Safe for both if balanced | $2 – $4 |
| Lacquer Thinner / Acetone | N/A (Solvent) | Instant | Destroys standard Rubber seals | $6 – $10 |
Step-by-Step Guide: Cleaning Between Color Changes
Flushing your airbrush between color transitions prevents cross-contamination and minimizes paint buildup inside the nozzle assembly. A quick clean should take no more than 30 to 45 seconds once you build the muscle memory. Keeping dedicated cleaning tools and a rinse jar near your workspace makes this process seamless.
- Dump excess paint: Pour any remaining liquid paint out of the gravity cup into a scrap jar or paper towel. Never spray full cups of unused paint through the nozzle, as this accelerates residue buildup.
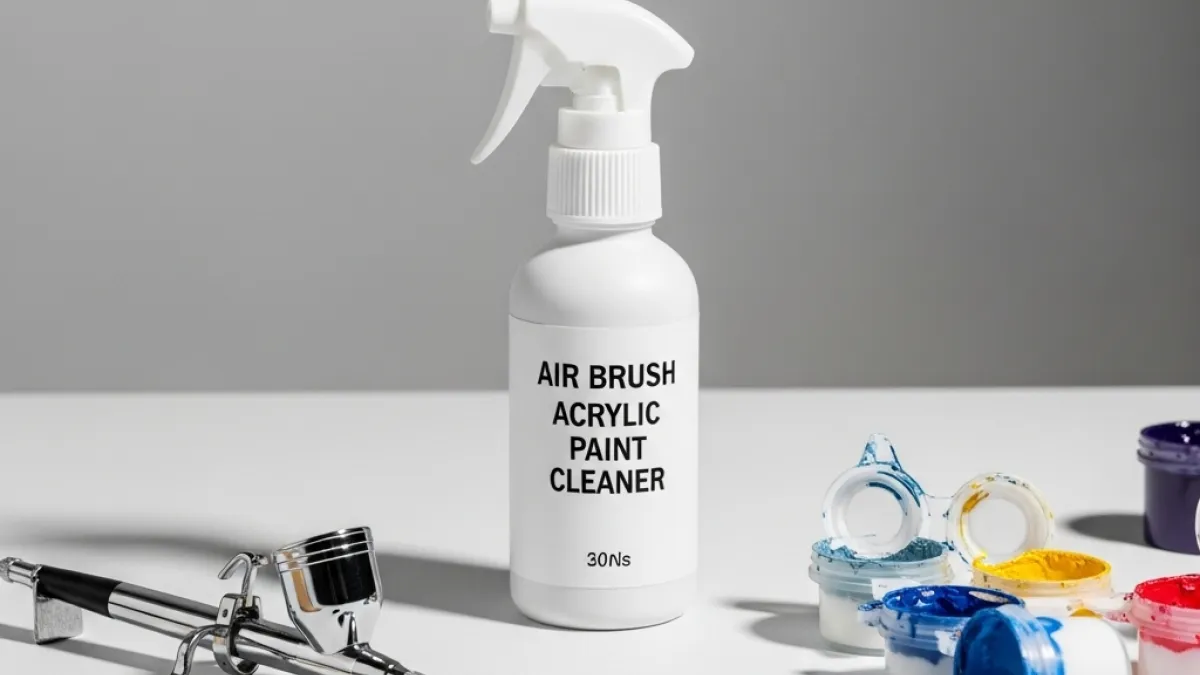
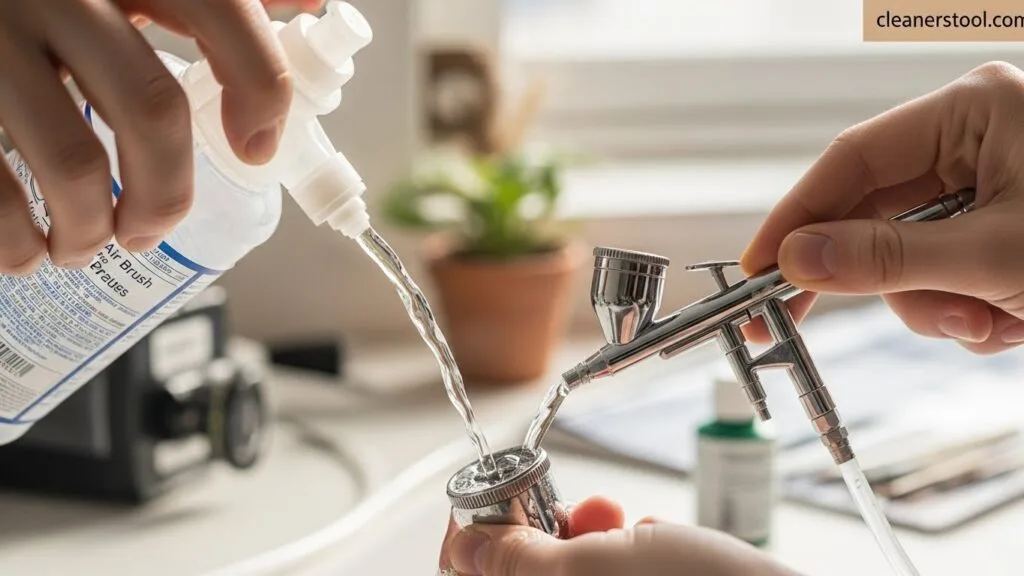
- Add cleaner solution: Squirt 5–10 drops of high-grade air brush acrylic paint cleaner into the color cup. Use a soft nylon brush to wipe down the inner walls of the cup.
- Perform the back-flush technique: Place a folded paper towel or your gloved finger firmly over the needle cap to block airflow. Gently press and pull back slightly on the trigger. The diverted air forces solution backward into the cup, creating bubbles that loosen trapped paint in the fluid tip.
- Spray out to clear: Dump the dirty fluid out of the cup, add fresh cleaner or distilled water, and spray it through into an airbrush cleaning station pot until the mist runs completely clear.
Deep Cleaning: How to Remove Dried Paint and Clogs
When paint fully cures inside your airbrush, spray patterns distort, split, or stop flowing entirely. Resolving a stubborn clog requires a methodical teardown of the front-end fluid assembly. Take your time during this process; force is the leading cause of bent needles and split brass nozzles.
- Remove needle carefully: Loosen the needle chucking nut at the back of the handle. Gently pull the stainless steel needle forward out through the front to prevent pulling dirty paint residue back through the clean internal trigger seals.
- Disassemble the fluid cap and nozzle: Unscrew the crown cap and front nozzle cap. Using the tiny wrench provided by the manufacturer, carefully unscrew the fluid nozzle. Avoid over-tightening during reassembly, as these micro-threads shear easily under excess torque.
- Soak metal components: Place the metal nozzle, cap, and needle into a glass dish filled with acrylic cleaner or specialized stripper solution. Allow a dwell time of 15 to 20 minutes to fully soften hardened paint bonds.
- Scrub channels and reassemble: Insert micro-cleaning reamers or mini dental brushes coated with cleaner through the fluid pathways to strip away dissolved debris. Wipe the needle clean using a damp lint-free microfiber cloth, wiping exclusively from shank to point to avoid bending the tip. Reassemble and test spray with pure water.
Frequently Asked Questions
Can I clean acrylic paint out of an airbrush using plain water?
Water works for rinsing wet acrylic paint between immediate color swaps, but it cannot dissolve dried acrylic resins. Once paint dries inside the nozzle, you must use an alcohol- or surfactant-based acrylic cleaner to break down the hardened film.
Is Windex safe to use as an airbrush cleaner for acrylics?
Windex and similar glass cleaners can dissolve acrylic paint quickly due to their ammonia content, but prolonged exposure corrodes chrome plating and damages brass airbrush bodies over time. Use it sparingly or dilute it heavily, and avoid soaking parts in it.
How often should I do a complete teardown and deep clean?
Perform a complete deep clean after every 3 to 5 hours of continuous painting, or whenever you finish a major spraying session. If you store your airbrush with residual paint inside, it will clog, requiring immediate teardown before its next use.
Final Recommendations
For daily maintenance and long-term durability, rely on a purpose-formulated commercial acrylic airbrush cleaner for quick flushes and end-of-day cleaning. Keep a high-purity isopropyl alcohol blend on hand for stubborn dried paint, but restrict soaking times to protect non-PTFE rubber seals. Combining proper flushing habits between colors with careful nozzle maintenance ensures your spray gun delivers smooth, fine atomization every single time you pull the trigger.
Sources
- Wikipedia: Airbrush Technology and Mechanics
- U.S. Environmental Protection Agency (EPA): Safer Choice Cleaning Standards
- Iwata-Medea Airbrush Care and Maintenance Manual Guide